 Max Pereira
Simple Presence Detection with ESPresense
Why?
Recently as I've been developing more smart home automations with Node-RED and HomeAssistant, I've wanted a way to detect whether I'm home or not. There are several ways to accomplish this, however one of the most reliable ways that I could think of was detecting the presence of my iPhone at home, since theoretically I would never leave the house without it. In the past I've tried some tricks with the HomeAssistant iOS app and geofencing however this never quite worked right. Unfortunately the HA app is a second class citizen on iOS and lacks many of the features that Android users enjoy.
Enter Stage Left: ESPresense
Luckily, there is a free and open source project called ESPresense which uses inexpensive ESP32 development boards to detect the presence of devices using Bluetooth Low Energy (BLE). When I was setting this up I was unable to find a single page guide from start to finish showing how to create a HomeAssistant sensor to track whether a device is present or not with ESPresense. I will describe exactly what needs to be purchased and how to set things up.
The Hardware
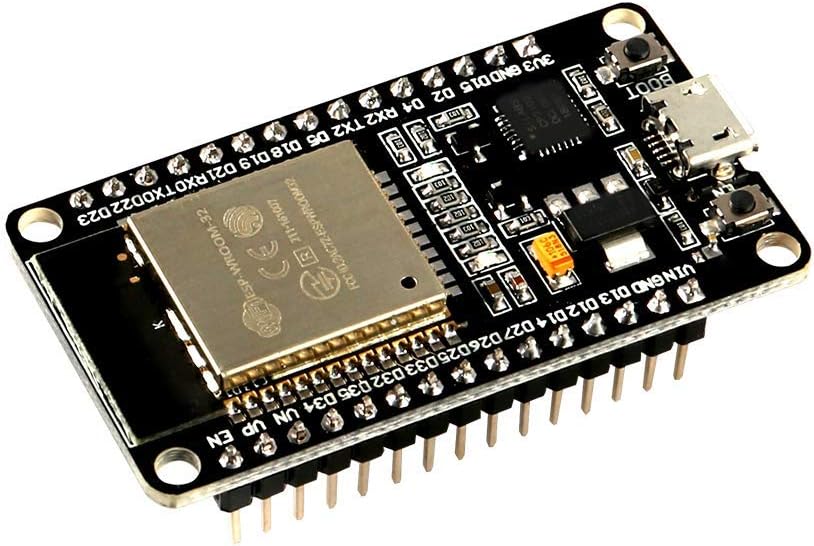
The documentation lists several ESP32 development boards ("base stations") that are compatible with ESPresense. I went for these ones from Amazon, most notably because they were at the top of the list and also only ~$16.00 for a three pack.
Once you have your ESP32 development board in hand, it's time to flash the ESPresense firmware on to it. They've created a web-based flash utility powered by another cool project called esp-web-tools. All you have to do is connect your board to a USB port on your computer and go through the guided flashing process. This went relatively smooth for me, the only issue I had is that when entering my WiFi credentials I kept getting a timeout in the web UI even though the board had successfully connected to my network.
MQTT and HomeAssistant
Since this is the first element of my home automation system that operates using MQTT, I had to spin up an MQTT broker. I chose Eclipse Mosquitto, which is a popular open source choice. I followed these instructions to run it as a Docker container. Once your broker is running, you can configure the ESPresense settings by navigating to the IP of the development board in a browser. At a minimum you'll need to input the room name (in my case I used "home" because I don't have a need for per-room detection), the MQTT broker IP, and credentials. Next we want to enroll our device in the base station. Navigate in your browser to http://[dev board IP]/ui and click on Devices on the left hand menu.
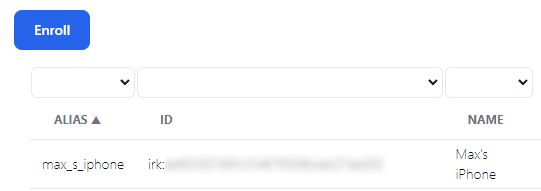
Click the blue Enroll button and give your device a name. The flow will guide you through pairing your device over Bluetooth to capture the necessary information. After the enrollment is completed, the pairing can be deleted. Now ESPresense should automatically be publishing information about detected devices to its MQTT topic. I used another open source tool called MQTT Explorer to see what kind of information was being collected by ESPresense.

ESPresense creates three MQTT subtopics: rooms, settings, and devices. In our case we only have one room called "home", but you can actually create several of these base stations and do per-room device detection, if you so desire. The settings subtopic contains information for enrolled devices, which in my case includes the one base station and my iPhone. The devices subtopic is updated in real time with all detected Bluetooth devices.
The last step to make this useful is to connect everything to HomeAssistant. First, add the MQTT integration and enter your MQTT broker IP and credentials. Next, you'll need to create a sensor in HomeAssistant using the mqtt_room integration. You can't do this through the web interface. In your HomeAssistant configuration.yml file, add the following section adapting to your specific device information:
sensor:
- platform: mqtt_room
    device_id: "max_s_iphone"
    name: "Max's iPhone MQTT"
    state_topic: "espresense/devices/max_s_iphone"
    timeout: 10
    away_timeout: 15
The key points here are that device_id and state_topic should match your ESPresense device alias exactly. The name can be any string as you want it to appear in HomeAssistant. Timeout is really only important for multi-room detection and is optional. Away_timeout is also optional and controls the amount of seconds before the sensor state is set to not_home if no updates are received. Once you've updated your configuration.yml and restarted HomeAssistant, your new entity will be available to use:
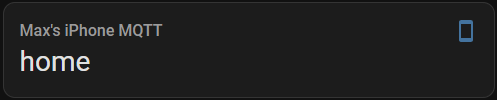
And that's it! Now that the entity exists within HomeAssistant, you can use it in your Node-RED flows or any other kind of automation by checking if the state is home or not_home. Hopefully you found the above useful, and I'd love to hear what kinds of automations you're building with ESPresense as well as any other comments you have.
Published: December 16, 2023
← Back to Home